Credit Offered* Learn More
Collect 30x Total CT Money®* on almost everything, Friday, June 14. Triangle Credit Card Exclusive. *Conditions apply.
OBTENEZ AU TOTAL 30X L’ARGENT CTMD* sur presque tout le vendredi 14 juin. Exclusivité de carte de crédit Triangle. *Des conditions s’appliquent.
Buy One Get One Free on Selective Products Only
Test
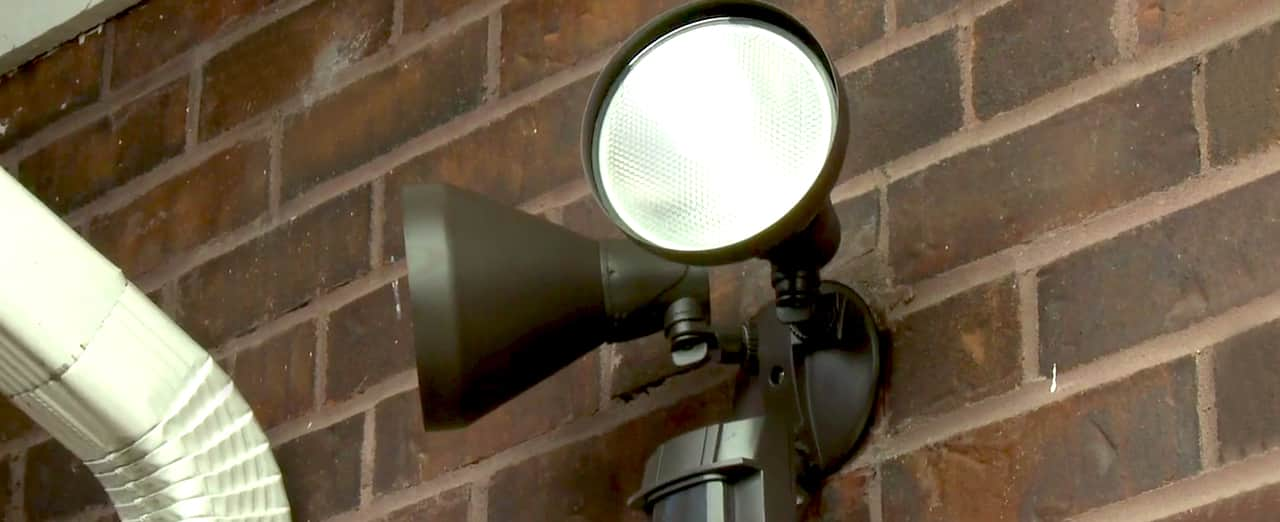
Installing a security light with motion detector is a great way to add safety and security to your home. The following steps will help you see the light!
1.5 HOURS | MED. DIFFICULTY | 18 STEPS
WHAT YOU'LL NEED
Disclaimer: This HOW-TO is for informational purposes only, and not intended to be advice.
Some provinces may require a licensed professional to perform such work. Check your local laws.
Start by switching off the circuit breaker that supplies power to the fixture.
Select the appropriate multi-screwdriver bit and remove the old fixture.
Unpack and prepare the new fixture.
Don’t forget to read the installation instruction first!
Attach the new mounting plate to the junction box.
If the new fixture comes with a weather gasket, push the wires through the gasket.
Tip: Make an “S” hook out of stiff wire to suspend the fixture.
This will make wiring easier.
Attach the bare copper wire to the grounding screw on the new fixture.
Gather the white wires together and connect them using a twist-on electrical connector.
Next, gather the black wires together and twist them together with a connector.
A short piece of electrical tape on each set of wires will keep everything secure.
You’re almost done!
Install the new fixture with the supplied hardware.
Tip: If the new fixture is not weatherproof, apply silicone caulk around the fixture.
Screw in the new light bulbs.
Turn on the circuit breaker, and flip on the switch.
Aim the bulbs to illuminate the area you choose.
Follow the instructions to set the sensitivity of the motion detector.
You can choose how quickly it turns on as well as how long the light stays on.
Hooray, there is light!